1Getting started
Welcome to your SaleCart store. This manual walks you through everything, one step at a time. You don't need any technical knowledge: if you can send an email, you can run your store.
Signing in #
Your admin area is at your store's address followed by /admin, for example www.yourstore.co.za/admin.
- Type your email address and password, then press Continue.
- Open the authenticator app on your phone (such as Google Authenticator or Microsoft Authenticator) and type the 6-digit code it shows. If you chose email codes instead, check your inbox.
- On your own computer, tick Don't ask for a code on this browser for 30 days.
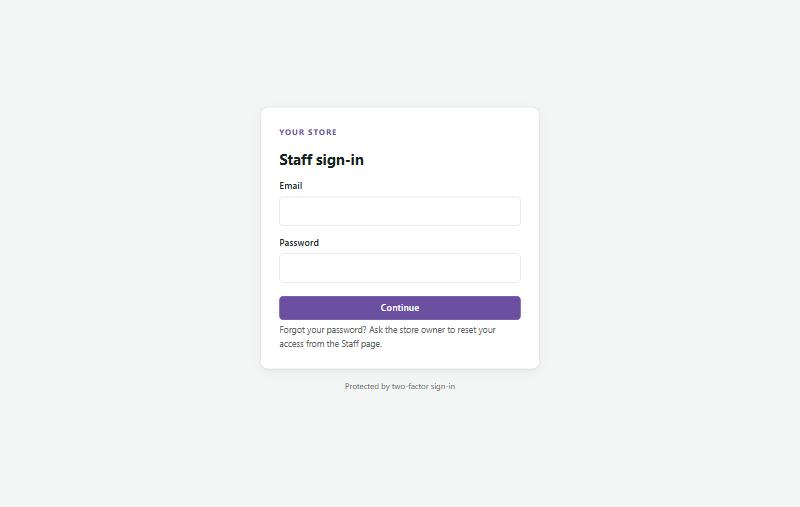
If you forget your password, ask the store owner to email you a set-password link from Settings → Staff. Owners can change their own password under My account (click your name at the top right).
The dashboard #
The dashboard is the first page you see. It shows how your store is doing at a glance:
- Revenue, orders, average order and new customers for the last 7, 30 or 90 days, compared with the period before.
- To fulfil and Awaiting EFT: orders that need you. Click a tile to open that list.
- Low stock and Reviews to check.
- Charts of sales over time, how customers paid and how orders were delivered.
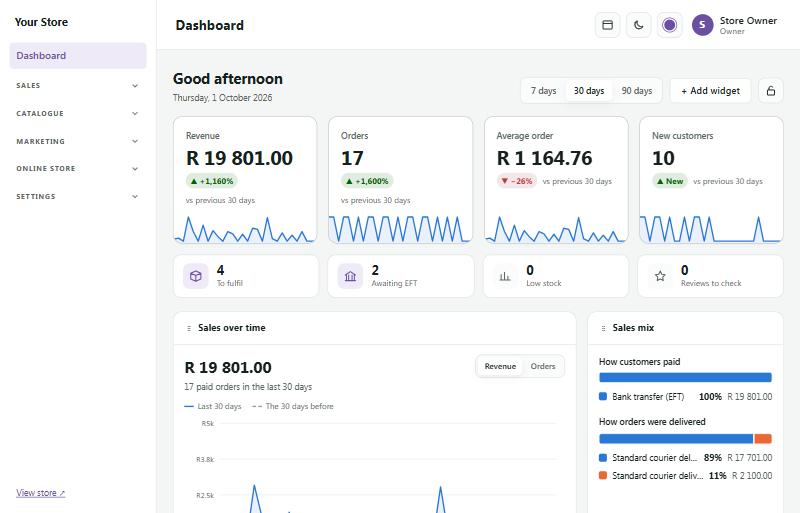
You can arrange the dashboard your way. Press Customise for a list of every widget: tick the ones you want, choose each one's width, put them in order with the arrows and press Save layout. Under Layout, choose Grid (widgets sit in rows) or Masonry (widgets of different heights pack into columns with no gaps under the short ones, in the same order); a wider widget still spans more columns. You can also drag widgets by their title bar. Previous layout brings back the layout you had before your last changes, Grid or Masonry included (press it again to switch back), and Reset to the standard layout can be undone the same way. Press the padlock to lock the layout.
The standard layout uses Masonry: the Storefront strip (open or closed, with one-click Close the store and Open my store) across the top, then sales over time, latest orders, new customers, sales mix, who's online, deliveries, sales, top products, profit, recent activity, security, shortcuts, store status, low stock, team and your account. You only see the widgets your role allows. Owners also have Reset everyone's dashboard to the standard layout under Customise: every staff member gets the standard layout, and each can bring their own back with Previous layout.
Finding your way around #
The menu on the left is grouped by what you want to do:
- Sales: orders, returns, customers and reports.
- Catalogue: products, price list, categories, collections, brands, stock, pictures, badges and product tabs.
- Marketing: discounts, specials, loyalty points, gift vouchers, upsells, reviews and follow-up emails.
- Online store: how your store looks: pages, theme, menus, footer, wording and store features.
- Settings: store details, payments, delivery, currencies, staff, security and backups.
Click a group name to open or close it. The buttons at the top right switch between a side menu and a top menu, and between light and dark mode. View store at the bottom of the menu opens your shop in a new tab, and Help & manual opens this manual.
Your first steps #
If your store is new, work through these in order. Each one has its own chapter in this manual.
- Store details: your store name, contact details and address (Settings → Store setup).
- Logo and colours: upload your logo and choose your brand colour.
- Payments: connect PayFast, Yoco, Ozow or Peach Payments, and/or add your bank details for EFT.
- Delivery: set your delivery prices.
- Products: add your products with pictures and prices.
- Look and feel: choose a theme and build your home page.
- Go live: check the launch list and open your store.
The Go live page (in the menu under Dashboard) keeps a checklist of these steps and tells you what's still missing.
What your shoppers see #
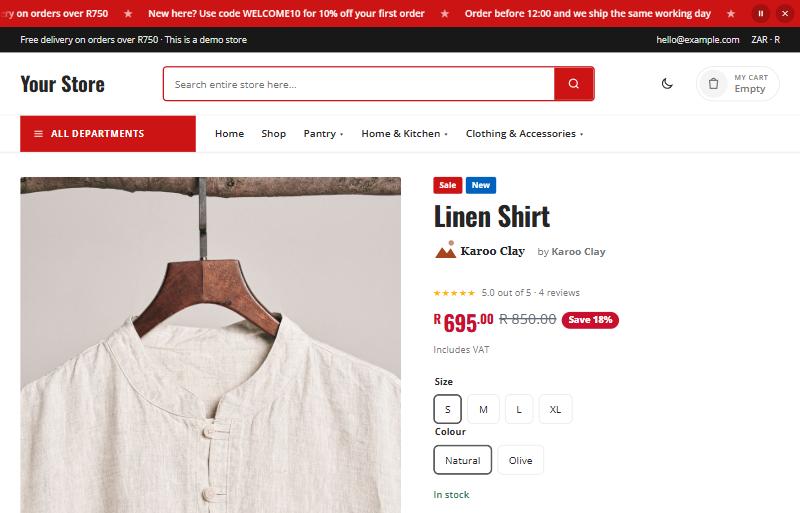
Your store has two sides. The admin (this area) is where you and your staff work. The store is what shoppers see: your home page, departments, product pages, cart and checkout.
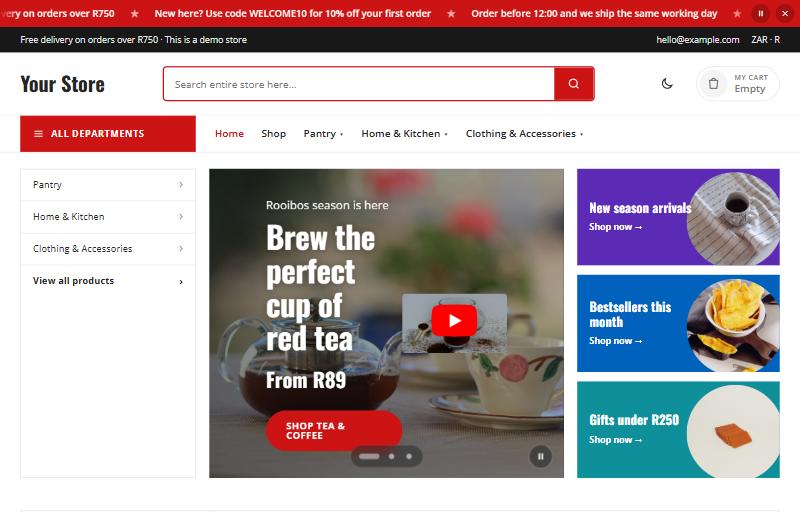
Everything you set up in the admin shows up in the store: products and prices, specials and badges, your theme and pages. Each product has its own page with pictures, options, reviews and an Add to cart button.